 contextlake
The dashboard
A guided tour of the local, offline-first dashboard: the fleet overview, per-repo anatomy, the architecture graph, blast radius, and generating a wiki.

The dashboard is the human window into everything contextlake builds: a local, offline-first, read-only single-page app over your knowledge store. No accounts, no cloud, no build step, one command and it opens in your browser.
New here? Skim QUICKSTART first. For what the graph/wiki/search tiers actually do, see knowledge-layer.md.
1. Get some data in (or don't)#
The dashboard reads your indexed store. If you've already run contextlake index (or
contextlake bootstrap), you're set. Just want to look around first? Every screen
below works against a bundled, generic demo fleet, no setup, no real data:
contextlake dashboard --serve --sample # a fictional "acme" fleet, served live
To build against your own repos, index a workspace once:
contextlake index --workspace ~/work # or `contextlake bootstrap` for the full pipeline
2. Launch it#
contextlake dashboard --serve --open # live, against your store; opens your browser
| Flag | What it does |
|---|---|
--serve |
Run it live against your store (everything on demand, no caps). |
--site DIR |
Export a static file://-safe copy (a representative slice). |
--sample |
Build from the bundled demo fleet, guaranteed generic, safe to share. |
--anonymize |
For a real-store --site: hash authors, drop URLs + prose (shareable). |
--open |
Open the result in your browser. |
--group-depth N |
How many namespace path segments deep to group repos in the fleet overview (default 1). Raise it to split one big flat group into finer sub-groups. |
Browsing your whole fleet? Use
--serve, it renders each repo on demand with no caps. A--siteexport is a fixed, shareable slice.Before you share a
--siteexport: a real-store export inlines repo names, git-author identities, and connector URLs, so it prints a "do not publish unscrubbed" warning. For anything you intend to share, build it with--anonymize(hashes author identities, drops external URLs + README/wiki prose) or--sample(the bundled, guaranteed-generic demo fleet).
3. The fleet overview#
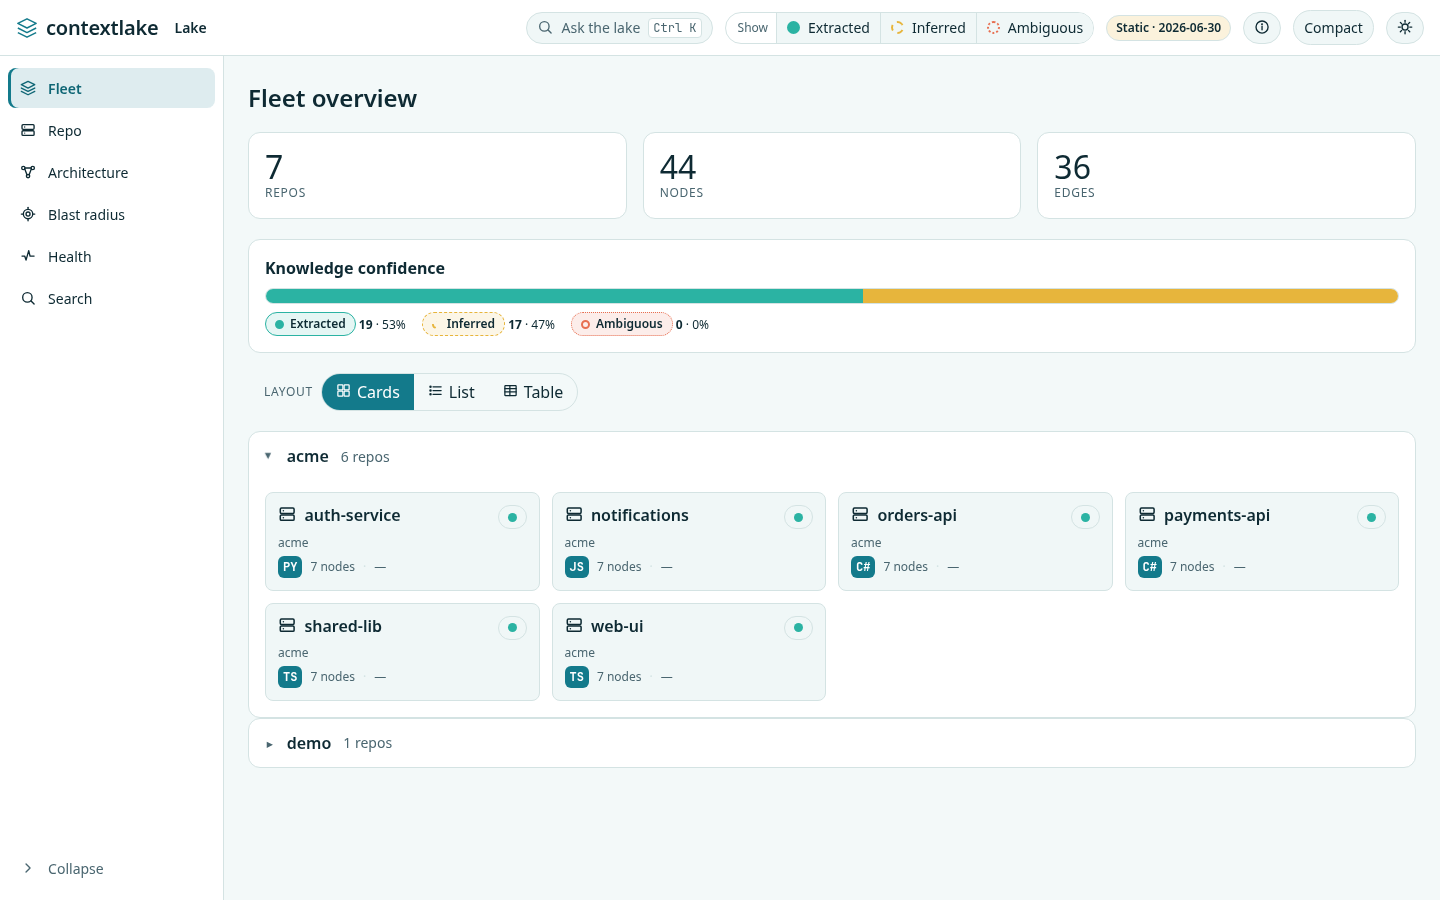
Stat cards, a knowledge-confidence bar, and your repos grouped by namespace.
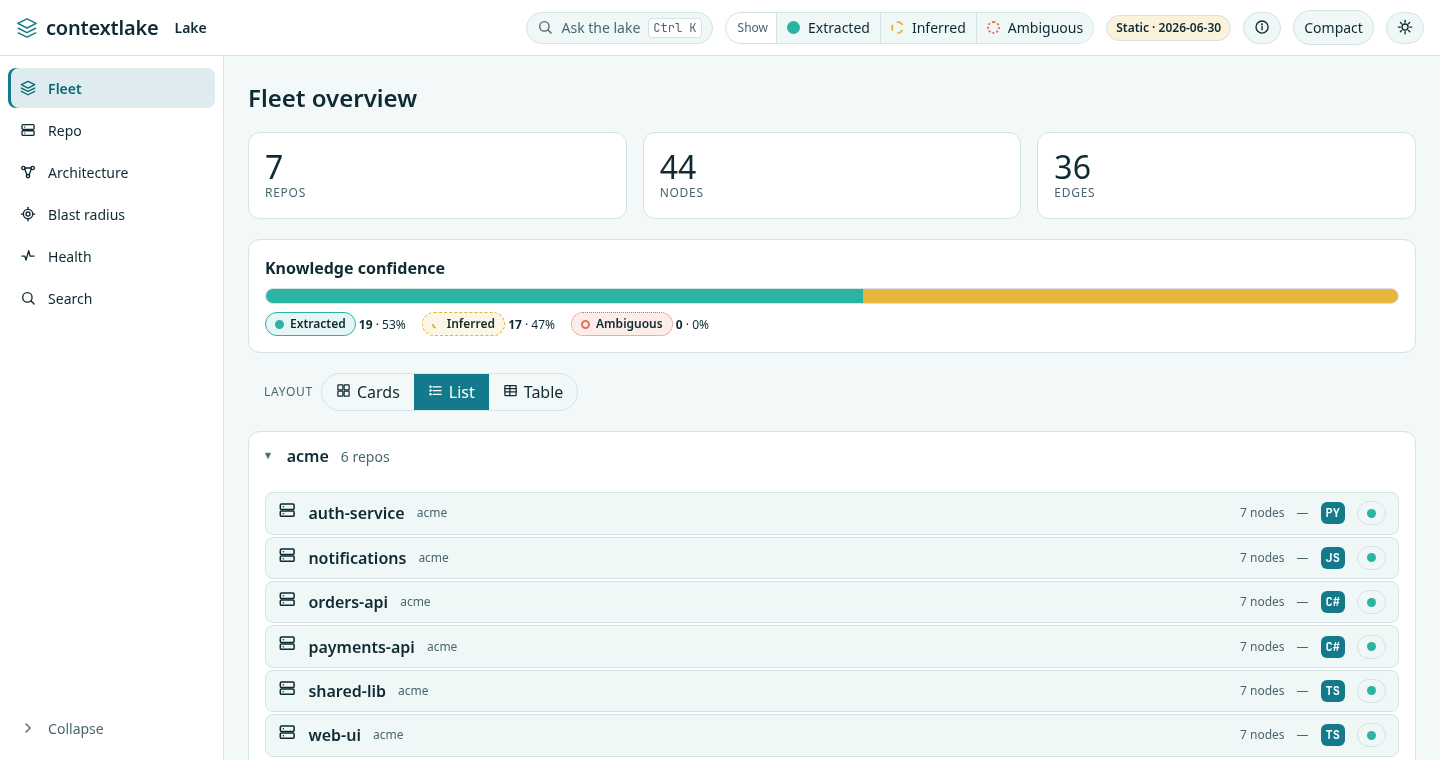
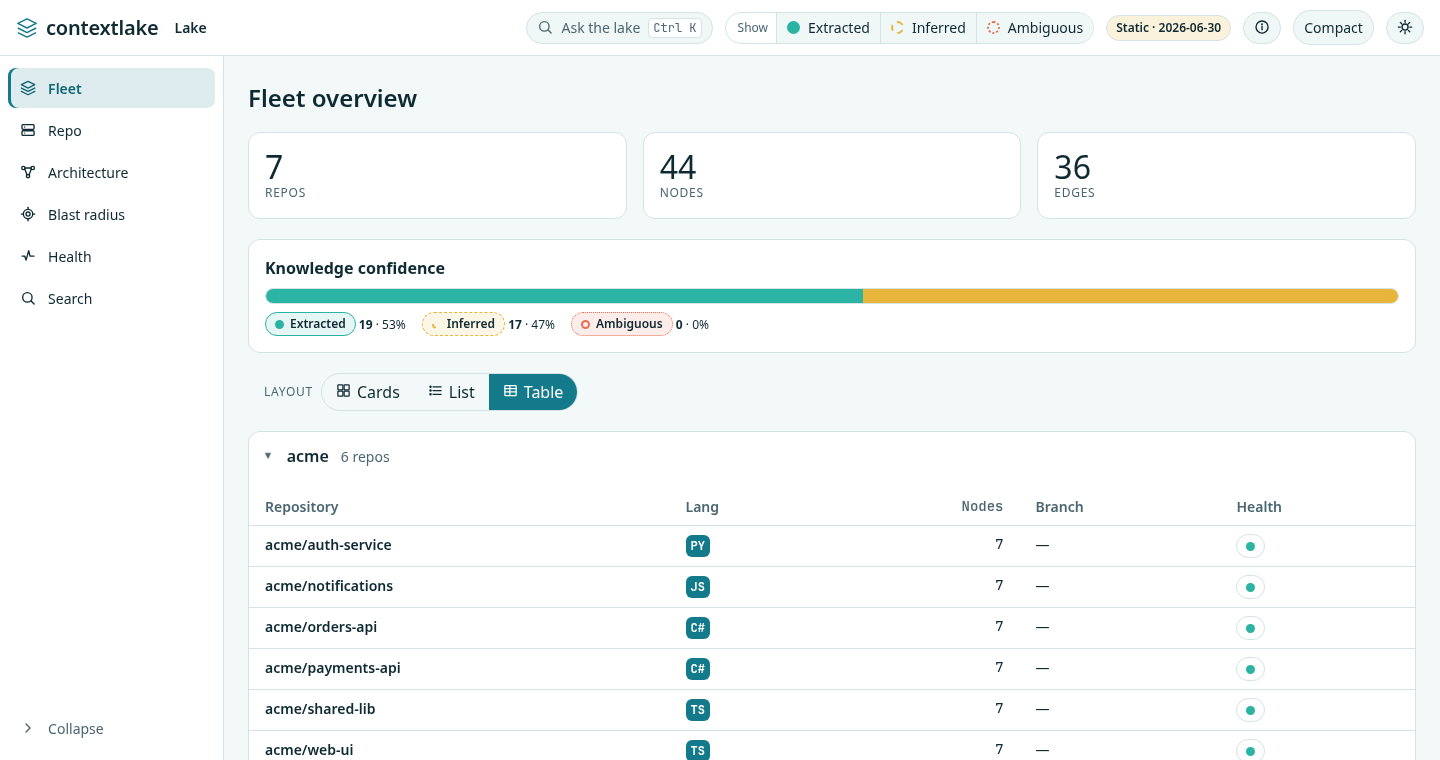
Prefer denser views? Switch the layout, Cards / List / Table (your choice is remembered):
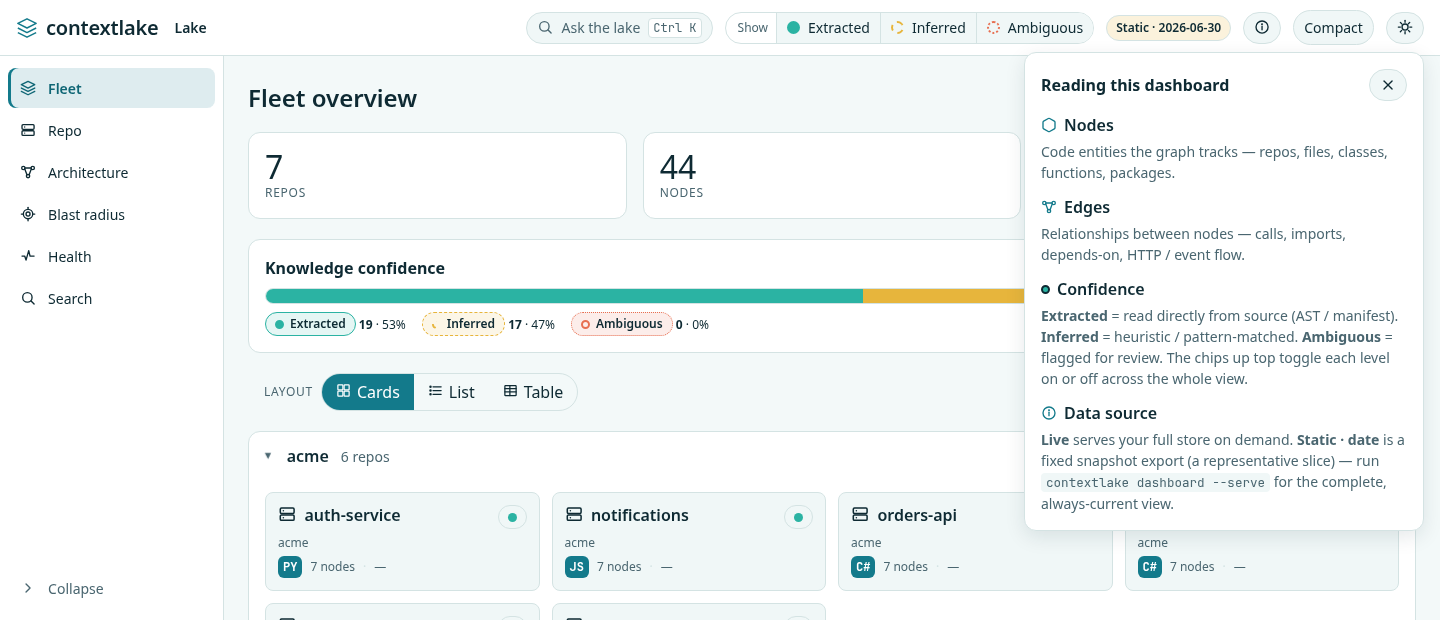
Not sure what a control means? The ⓘ "What am I looking at?" button explains nodes, edges, the three confidence levels, and the Live vs. Static data source:
4. A repo up close#
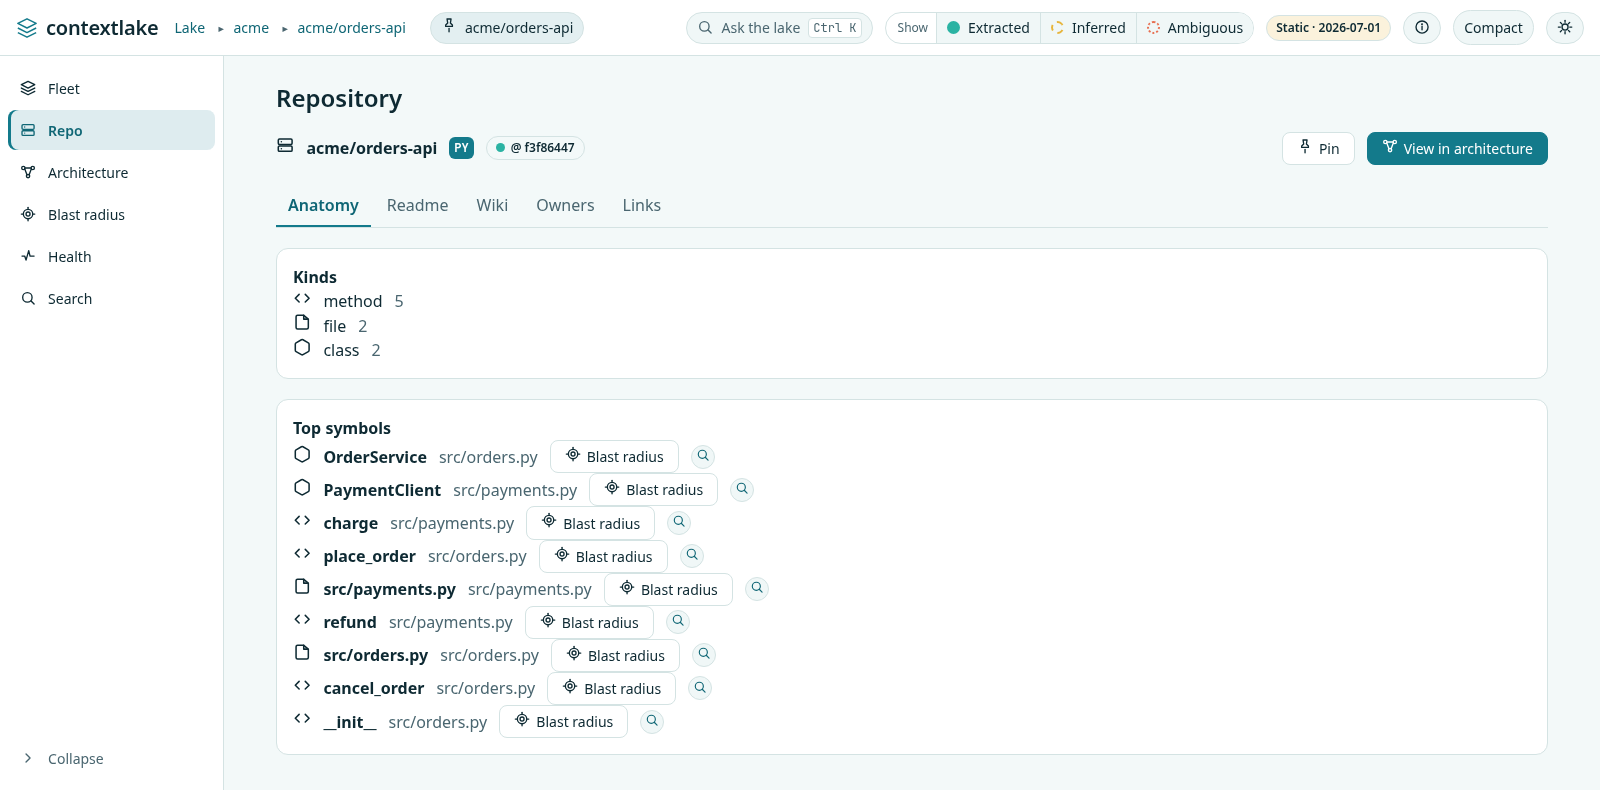
Click any repo for its anatomy, node kinds and top symbols, plus README, curated wiki, owners (ranked from git history), and connector links. Every symbol has a one-click Blast radius, and every fact carries its provenance.
5. Architecture & relationships#
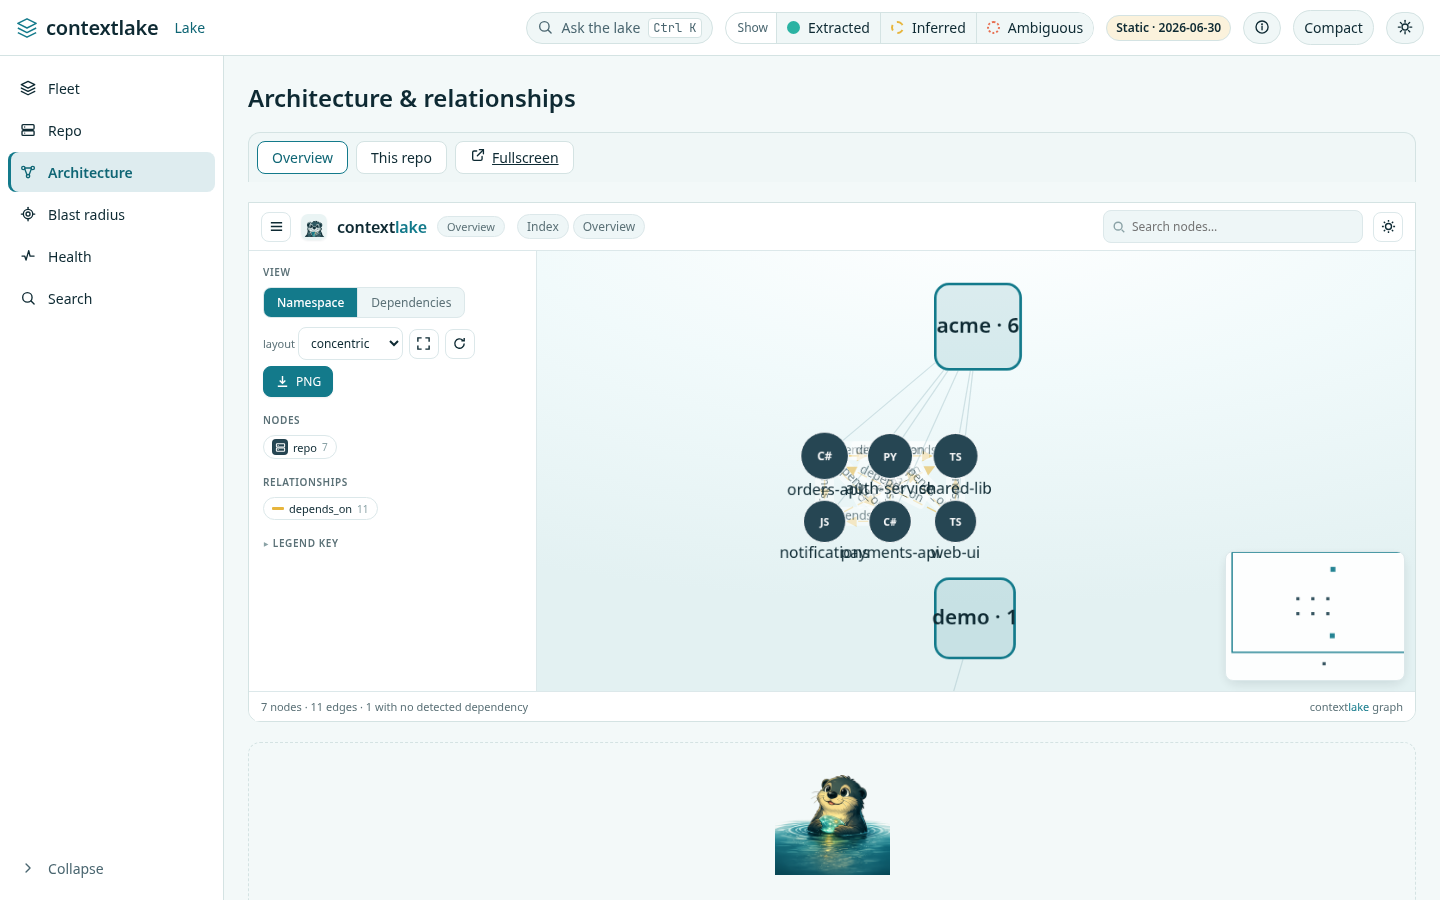
The cross-repo dependency graph, a namespace mindmap and a dependency flow, one interactive graph, alongside dependency / HTTP-flow / event-flow tables, each with confidence and provenance (never shown as ground truth).
6. Change impact (blast radius)#
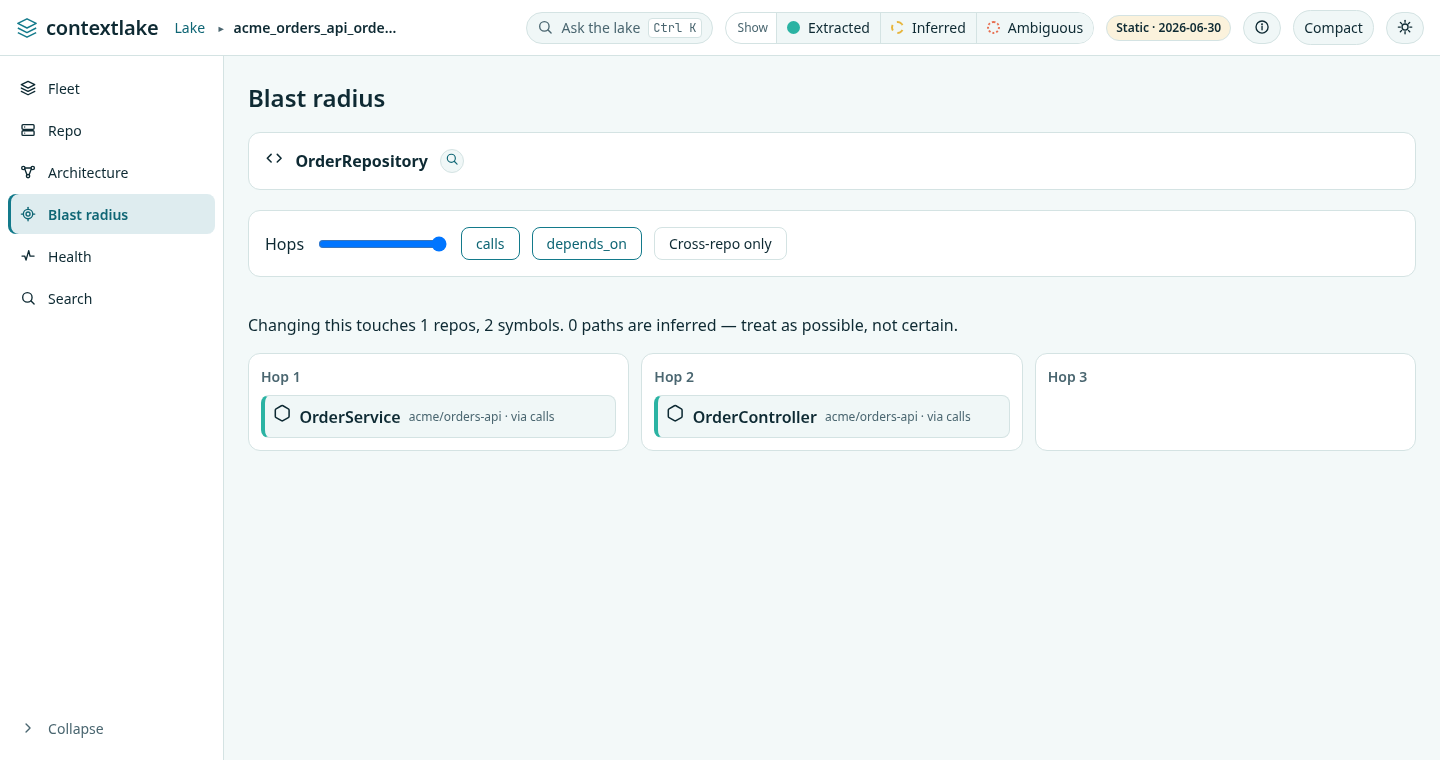
Pick a symbol, from search or a repo's symbol list, and see what a change would touch, hop by hop, with the confidence of each path.
7. Generate a wiki#
No wiki for a repo yet? Its Wiki tab hands you the exact command (one click to copy):
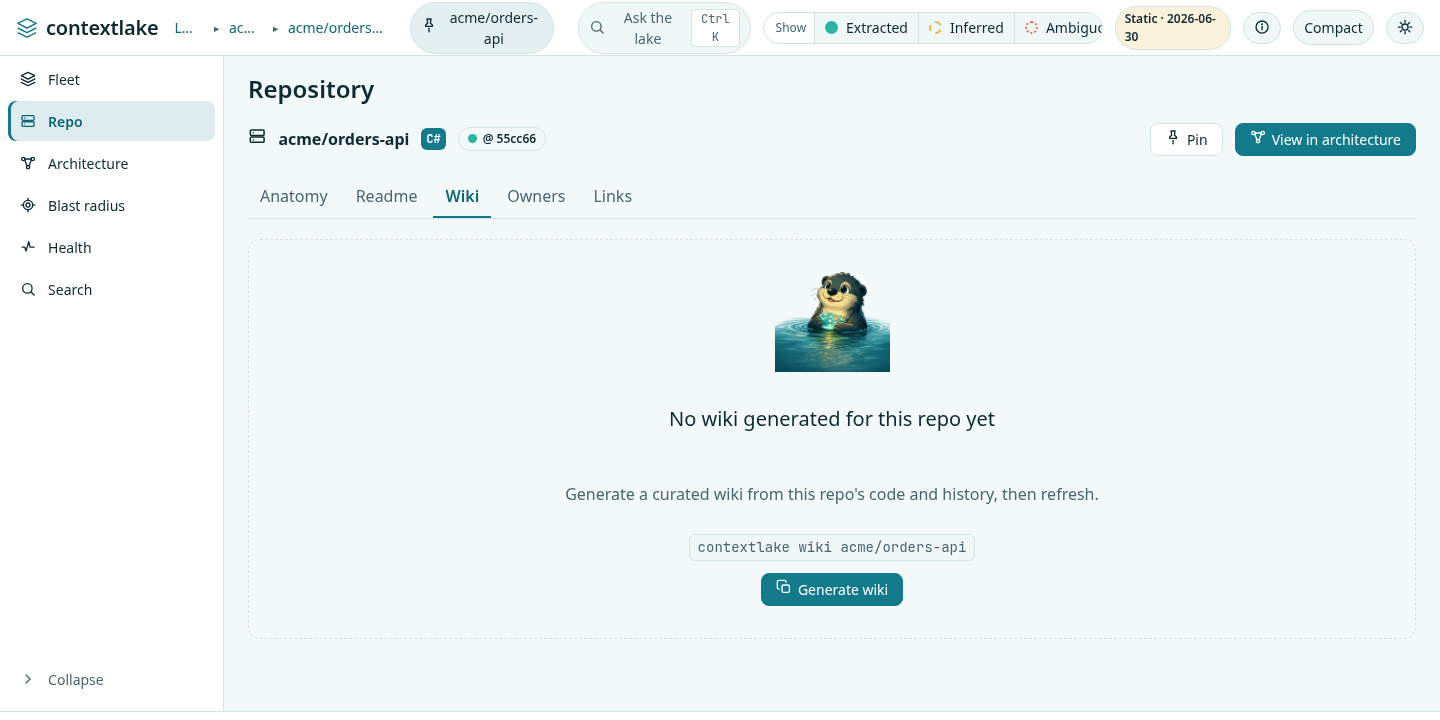
contextlake wiki acme/orders-api --llm builtin
--llm enables the LLM tier inline, builtin runs a small CPU model with no Ollama or
API key (install the llm-local extra first); ollama / openai use those backends.
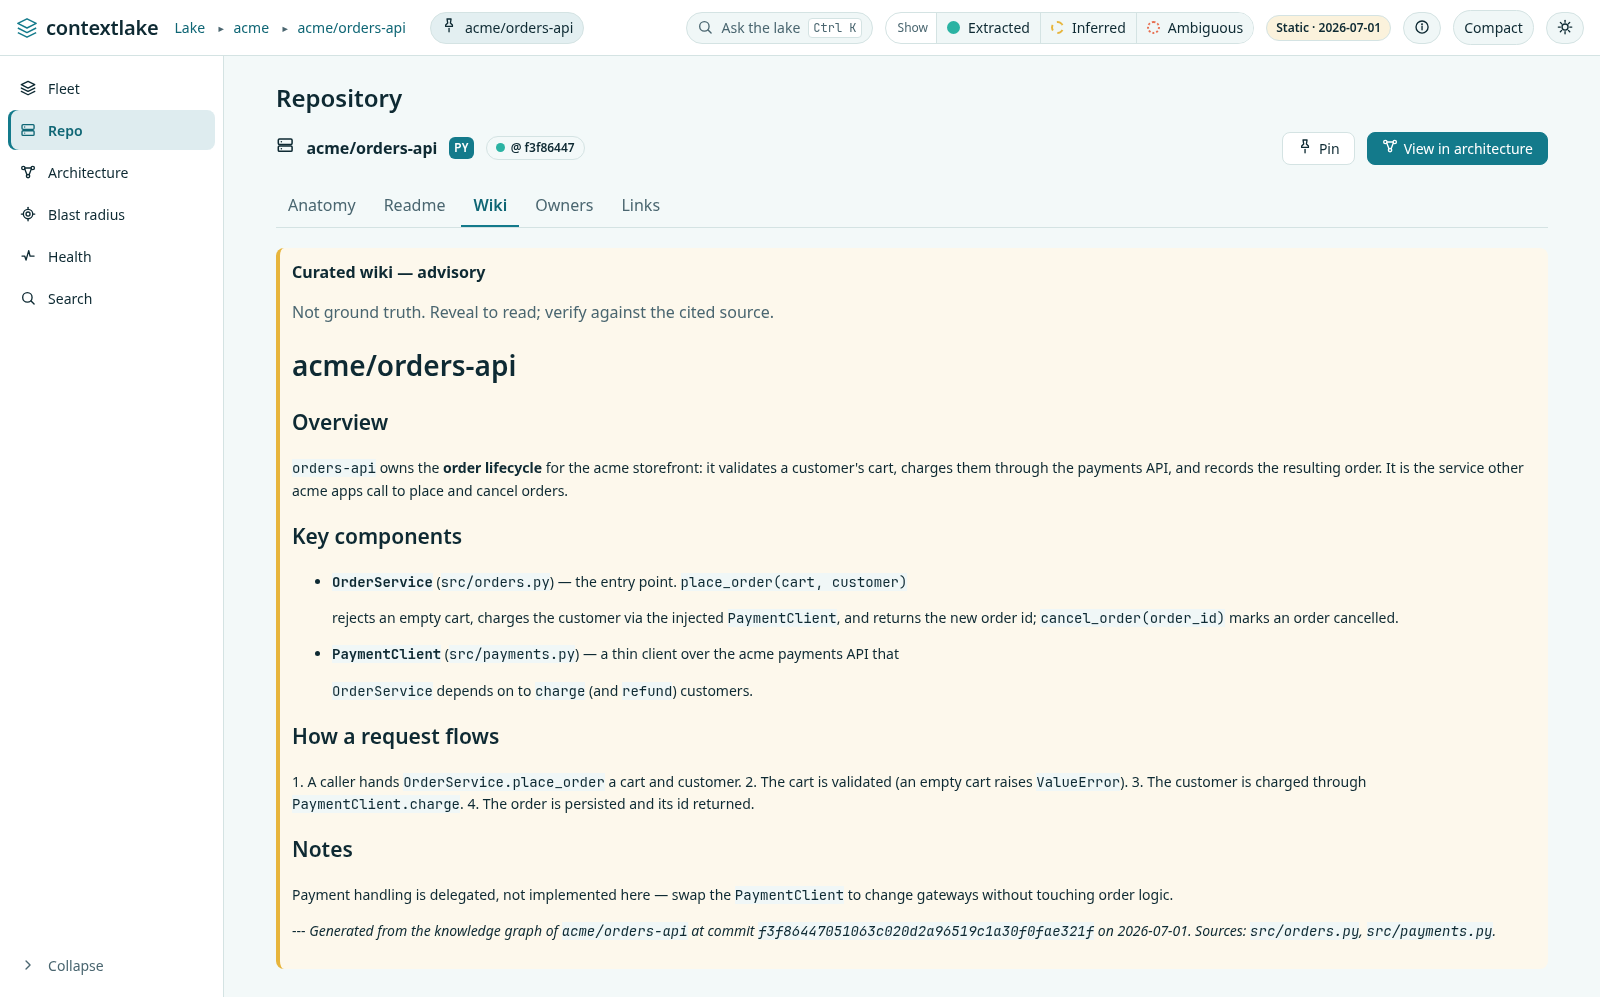
The positional repo id scopes generation to just that repo. Once it's generated, the page
renders right in the Wiki tab, grounded in the repo's real symbols, with a provenance
footer citing the exact commit and source files:
See knowledge-layer.md → Curated wiki.
Everything here is read-only and runs entirely on your machine. Sync and MCP-connection controls are planned for a future release.